Docker 로 WordPress 운영하기 – MySQL 사용하기
1. Docker 설치
Docker 홈페이지에 접속하여 자신의 OS에 맞는 Docker를 내려 받아 설치한다.
Ubuntu의 경우 다음과 같이 설치가 가능 하다.
$ apt update
$ apt-get install -y ca-certificates \
curl \
software-properties-common \
apt-transport-https \
gnupg \
lsb-release
$ apt-install docker-ce docker-ce-cli containerd.io docker-compose
$ docker -v
Docker version 19.03.13, build 4484c46d9d
2. MySQL Docker 이미지 다운로드
다음 명령어로 MySQL Docker 이미지를 다운로드한다. 태그에 버전을 지정하지 않으면 최신 버전을 다운로드한다.
$ docker pull mysql
Using default tag: latest
latest: Pulling from library/mysql
bb79b6b2107f: Pull complete
49e22f6fb9f7: Pull complete
842b1255668c: Pull complete
9f48d1f43000: Pull complete
c693f0615bce: Pull complete
8a621b9dbed2: Pull complete
0807d32aef13: Pull complete
a56aca0feb17: Pull complete
de9d45fd0f07: Pull complete
1d68a49161cc: Pull complete
d16d318b774e: Pull complete
49e112c55976: Pull complete
Digest: sha256:8c17271df53ee3b843d6e16d46cff13f22c9c04d6982eb15a9a47bd5c9ac7e2d
Status: Downloaded newer image for mysql:latest
docker.io/library/mysql:latest
MySQL 버전을 지정하려면 태그에 버전을 지정한다. 다운로드할 수 있는 MySQL 버전은 docker hub에서 확인할 수 있다. 예를 들어, MySQL 8.0.22 버전을 다운로드하려면 다음과 같이 태그에 버전을 지정한다.
$ docker pull mysql:8.0.22
8.0.22: Pulling from library/mysql
Digest: sha256:8c17271df53ee3b843d6e16d46cff13f22c9c04d6982eb15a9a47bd5c9ac7e2d
Status: Downloaded newer image for mysql:8.0.22
docker.io/library/mysql:8.0.22
다음 명령어로 다운로드한 Docker 이미지를 확인한다.
$ docker images
REPOSITORY TAG IMAGE ID CREATED SIZE
mysql 8.0.22 db2b37ec6181 2 weeks ago 545MB
mysql latest db2b37ec6181 2 weeks ago 545MB
2. MySQL Volume 생성
$ docker volume create mysql-vol
3. MySQL Docker 컨테이너 생성 및 실행
$ docker run –name mysql-container -e MYSQL_ROOT_PASSWORD=비밀번호 –network=wp-network -v mysql-vol:/var/lib/docker/volumes/mysql-vol/_data -d -p 3306:3306 mysql:latest
4. Docker 컨테이너 리스트 출력
$ docker ps -a
5. MySQL Docker 컨테이너 시작/중지/재시작
# MySQL Docker 컨테이너 중지
$ docker stop mysql-container
# MySQL Docker 컨테이너 시작
$ docker start mysql-container
# MySQL Docker 컨테이너 재시작
$ docker restart mysql-container
6. MySQL Docker 컨테이너 접속
$ docker exec -it mysql-container bash
root@dc557b92f573:/# mysql -u root -p
Enter password:
Welcome to the MySQL monitor. Commands end with ; or \g.
Your MySQL connection id is 9
Server version: 8.0.22 MySQL Community Server – GPL
Copyright (c) 2000, 2020, Oracle and/or its affiliates. All rights reserved.
Oracle is a registered trademark of Oracle Corporation and/or its
affiliates. Other names may be trademarks of their respective
owners.
Type ‘help;’ or ‘\h’ for help. Type ‘\c’ to clear the current input statement.
7. WordPress db 설정하기
[mySQL 8.0 이상]
CREATE DATABASE wp;
CREATE USER wp@localhost
alter user ‘wp’@’localhost’ identified with mysql_native_password by ‘비밀번호’;
FLUSH PRIVILEGES;
8. WordPress 실행하기
docker pull wordpress
docker run -d -p 8080:80 \
–network=wp-network \
-e WORDPRESS_DB_HOST=[DB HOST] \
-e WORDPRESS_DB_NAME=[DB Name] \
-e WORDPRESS_DB_USER=[DB User] \
-e WORDPRESS_DB_PASSWORD=[Password] \
–name wordpress-container \
wordpress
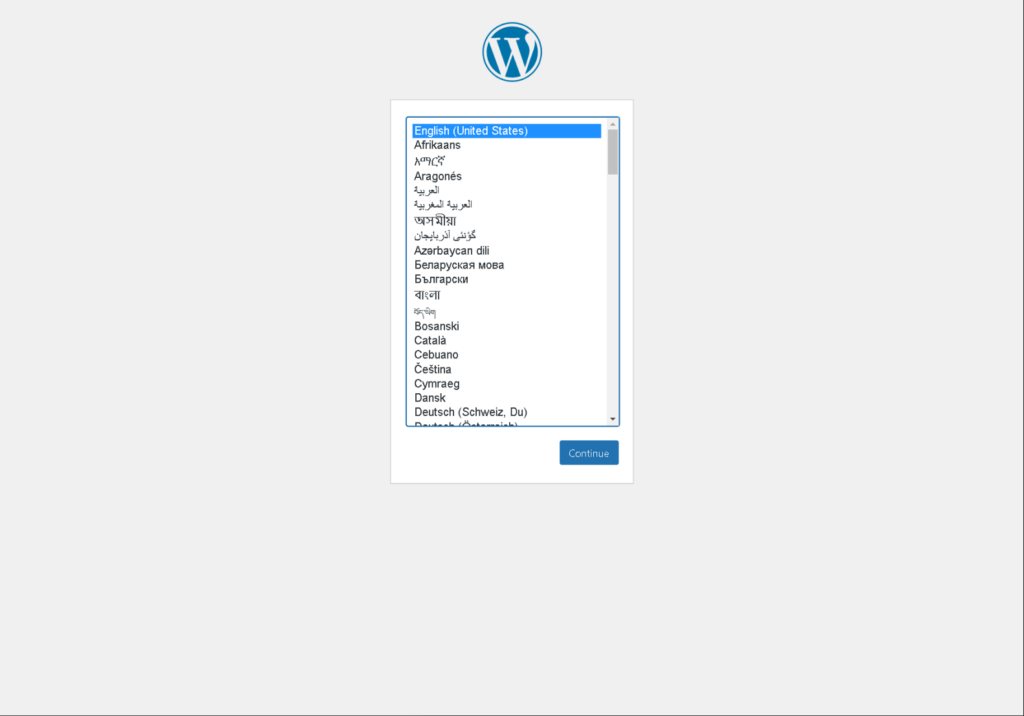
9. WordPress 접속 및 설정
